
Customizing My Own Heavy Duty Backdrop Stand Changed My Shoots
For years, I was working within a process and equipment setup that had been passed down to me, learning how to use it, adapt to it, and make it my own. It had history, and it had heart, but over time it was starting to show its age. My career has been one long process of learning, refining, and leveling up.
I could light dancers beautifully, and capture movement at its peak. I was really starting to get into my groove, but my backdrop system was a weak link.
I had been working with a particular client for a few years where backdrop width simply could not be sacrificed. This is an annual, ongoing project. Some of the groups I photograph for this job are as large as twenty three dancers in one image. They’re not just standing there either, they are in specific poses. So there’s arms and legs on the sides to watch out for. Editing a backdrop in post has improved as a process over the years, I will admit, but Photoshopping fingers and arms and feet hanging off a backdrop is just never fun and just super tedious. Having that extra width is important for this specific job. When I photograph individuals, I can work with a much smaller paper roll. When I took the job over in 2022 for my late aunt Lisa, I was using her JTL B-1020 wide free standing background support system with a crossbar that extended twenty feet. Which sounds awesome but… then there’s gravity. There was no chance of stretching a 20 x 20 foot fabric backdrop across that span without sag in the middle.
My “solution” for a few years was to tie a rope around the center of the crossbar, run it through the fabric, attach that rope to my car keys, climb a ladder, and throw my keys over a pipe overhead in the studio and gently pull and tie off until the crossbar was level. I know. I hate to even admit that, but I find it really important to be transparent. There were so many issues with this method that lived as a low grade anxiety in the back of my mind, and I knew it had to change. To top it off, the stands were starting to give way after more than twenty years of use. It got to the point where I simply could not run from this anymore and in 2025 I decided it was officially time to upgrade my system and my lights (light story for another time).
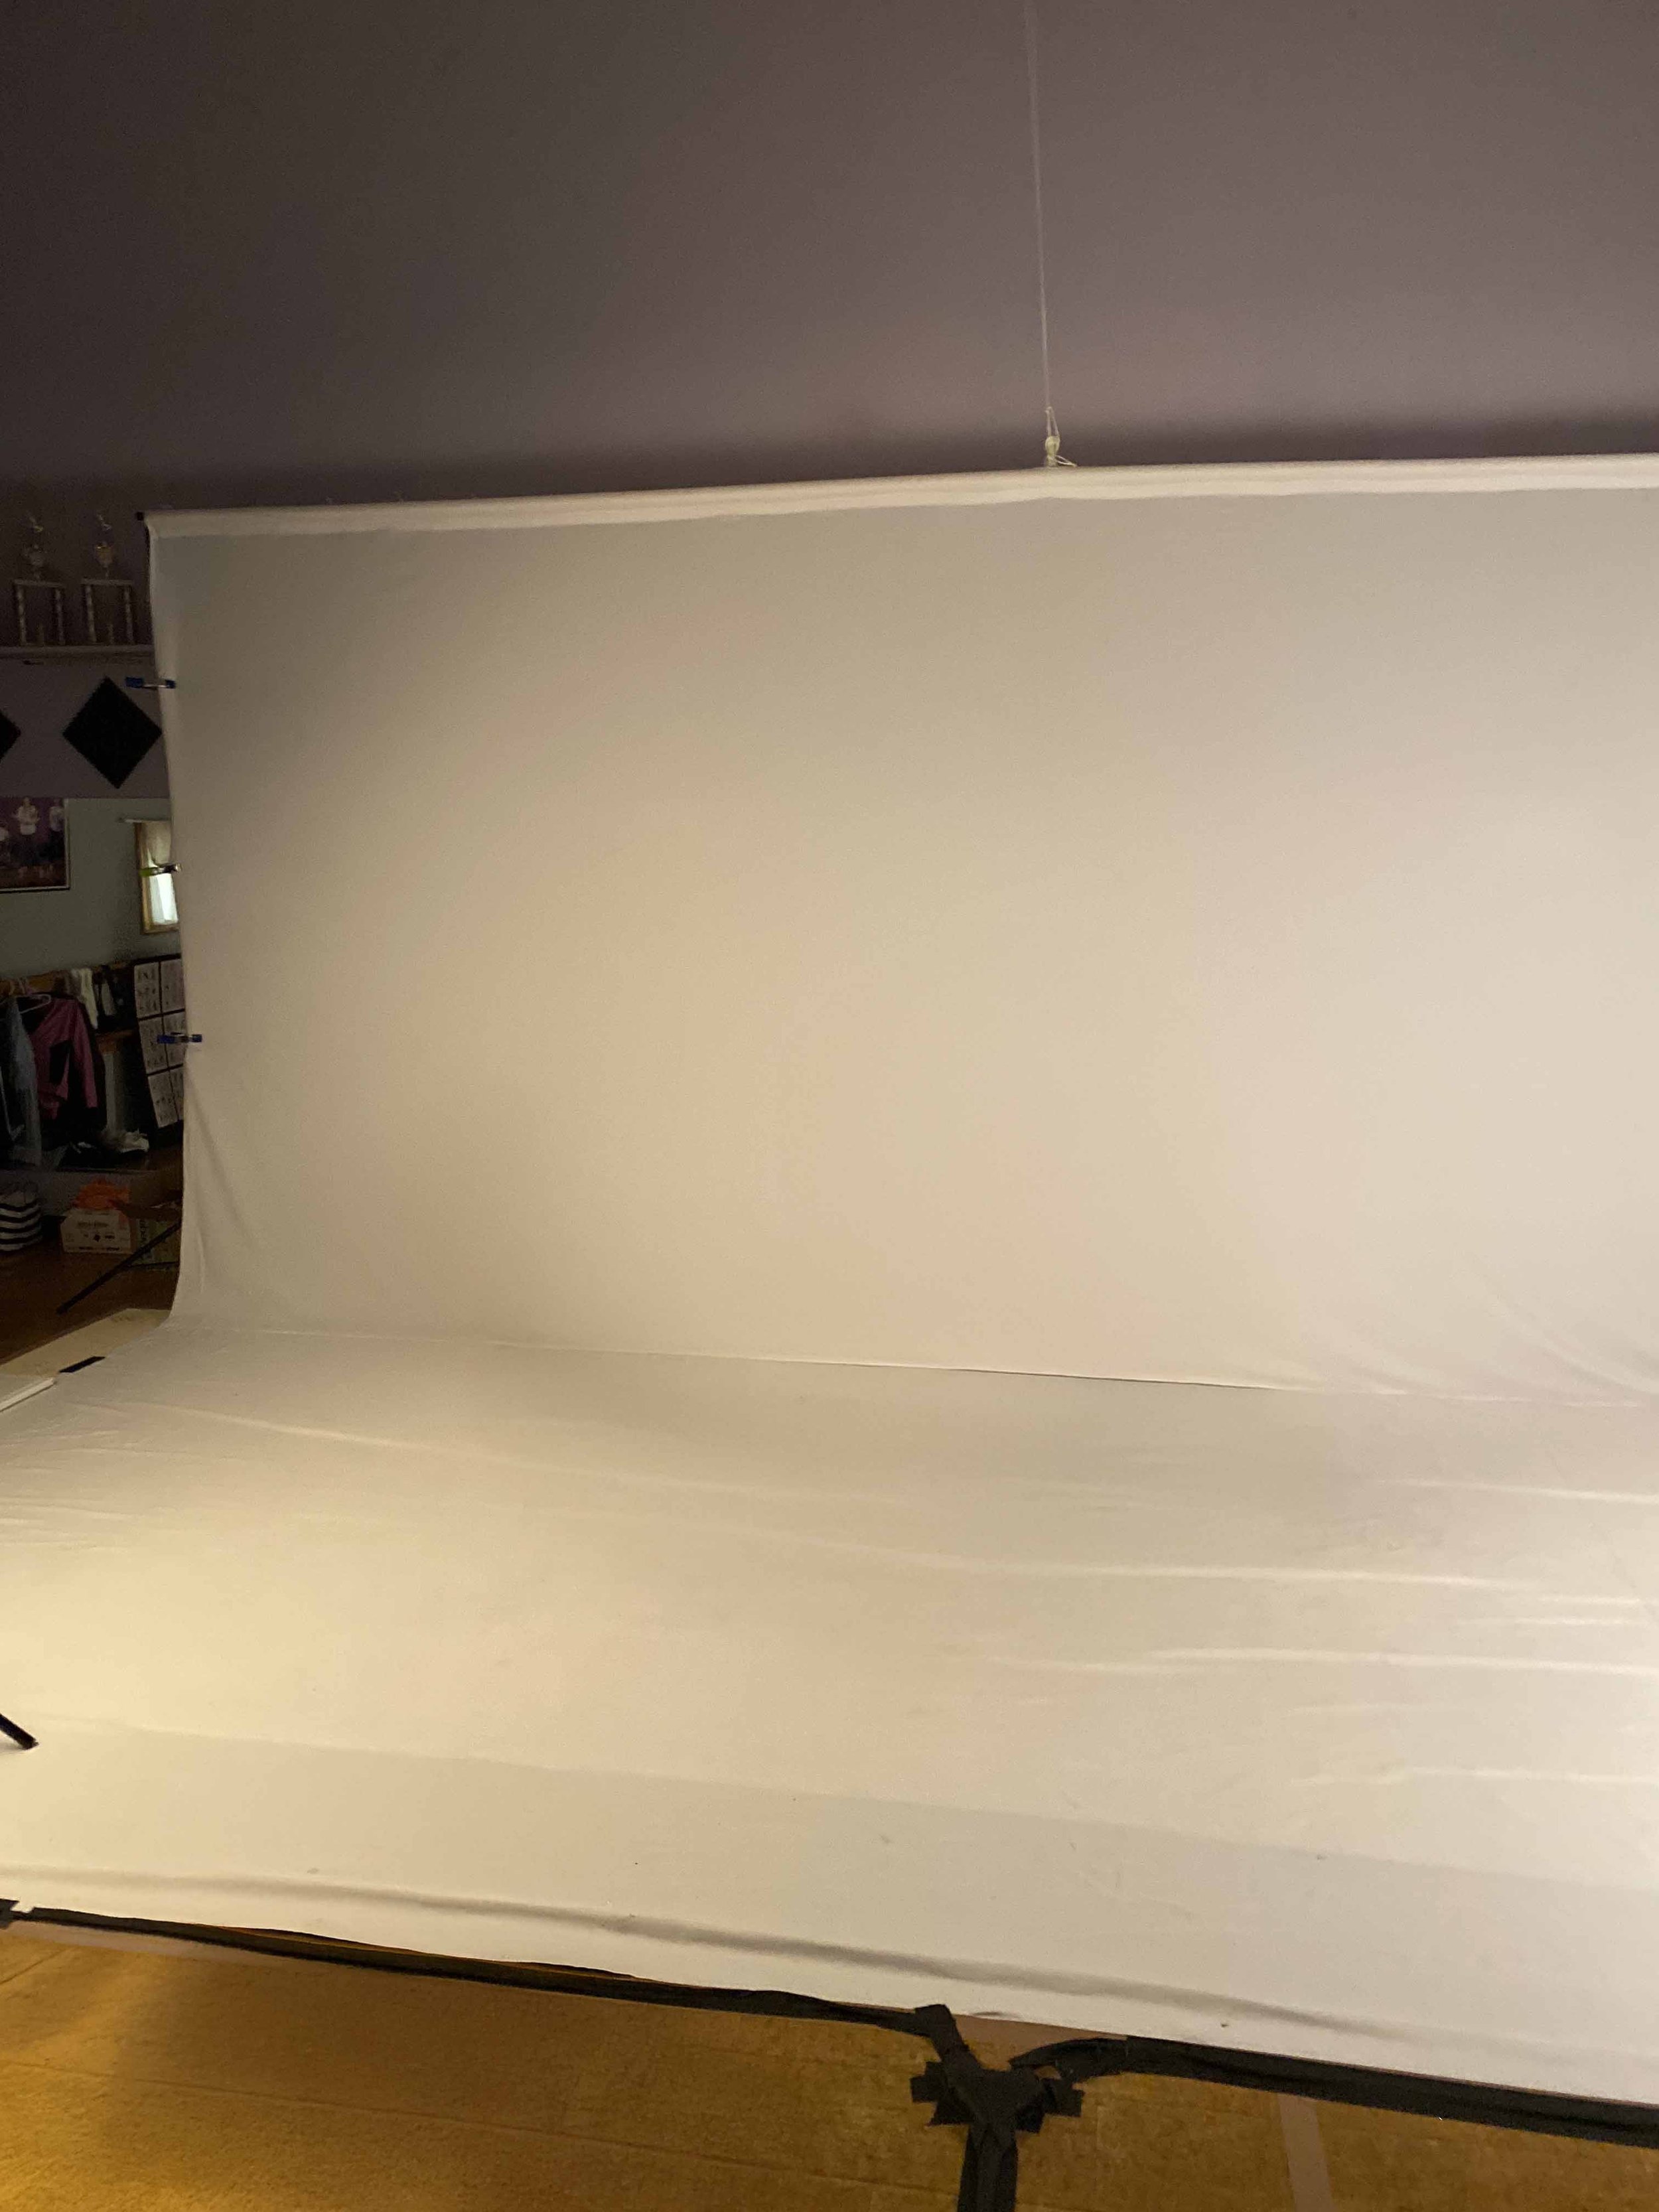
You can see here at the top of the center of the crossbar where my rope was tied off at.
I thought of my aunt a lot during this process. It felt like she was giving me the gentle push I needed to finally upgrade. She sure would have! There were many moments I wished I could ask her what to do, but I had a feeling her spirit was guiding me through it anyway. I thought of my own late father quite a bit too, because well, I would have had him cut the damn pipe I mention later.
My first step was researching whether a stand even existed that both extended this wide and was strong and tall enough for my needs. To no surprise, what I needed simply wasn’t available. The stand I was currently using was no longer being made too. Nothing reached twenty feet without requiring some sort of center support. Again, gravity. I couldn’t use a floor support in the middle without sacrificing the clean, seamless backdrop look. I ended up deep in Reddit threads where other photographers had the same problem. The common thread was this: if you wanted something that worked, you had to get creative. I always say my toxic trait is that I think I can make anything. I come from a long line of problem solvers, “find a need and fill it” types, and resourceful thinkers.
I knew it would be a challenge. Building this wasn’t just about a backdrop stand. It was about trusting my own hands and my own mind to solve a problem from start to finish. There’s a certain kind of confidence that only comes from figuring it out yourself.
I knew the very first step would be a new backdrop system. I needed at least two strong stands (I can’t make those). I ordered one with the top priority being weight capacity. I needed something strong enough to support both my new DIY crossbar and the full weight of the fabric backdrop. This setup typically stays up for two back to back shooting days. I needed something incredibly sturdy and trustworthy.
This sent me down a road where I was calculating the weight of every. little. thing. Because it really mattered. I even bought a scale specifically for this. It’s safe to say I was determined to make every part of this idea work. That’s not to say the process didn’t come with compromise. I settled for reducing my backdrop width to 18 feet. I figured two feet was workable and my larger groups could stand slightly tighter. Weight mattered the most here, so I could make the trade.
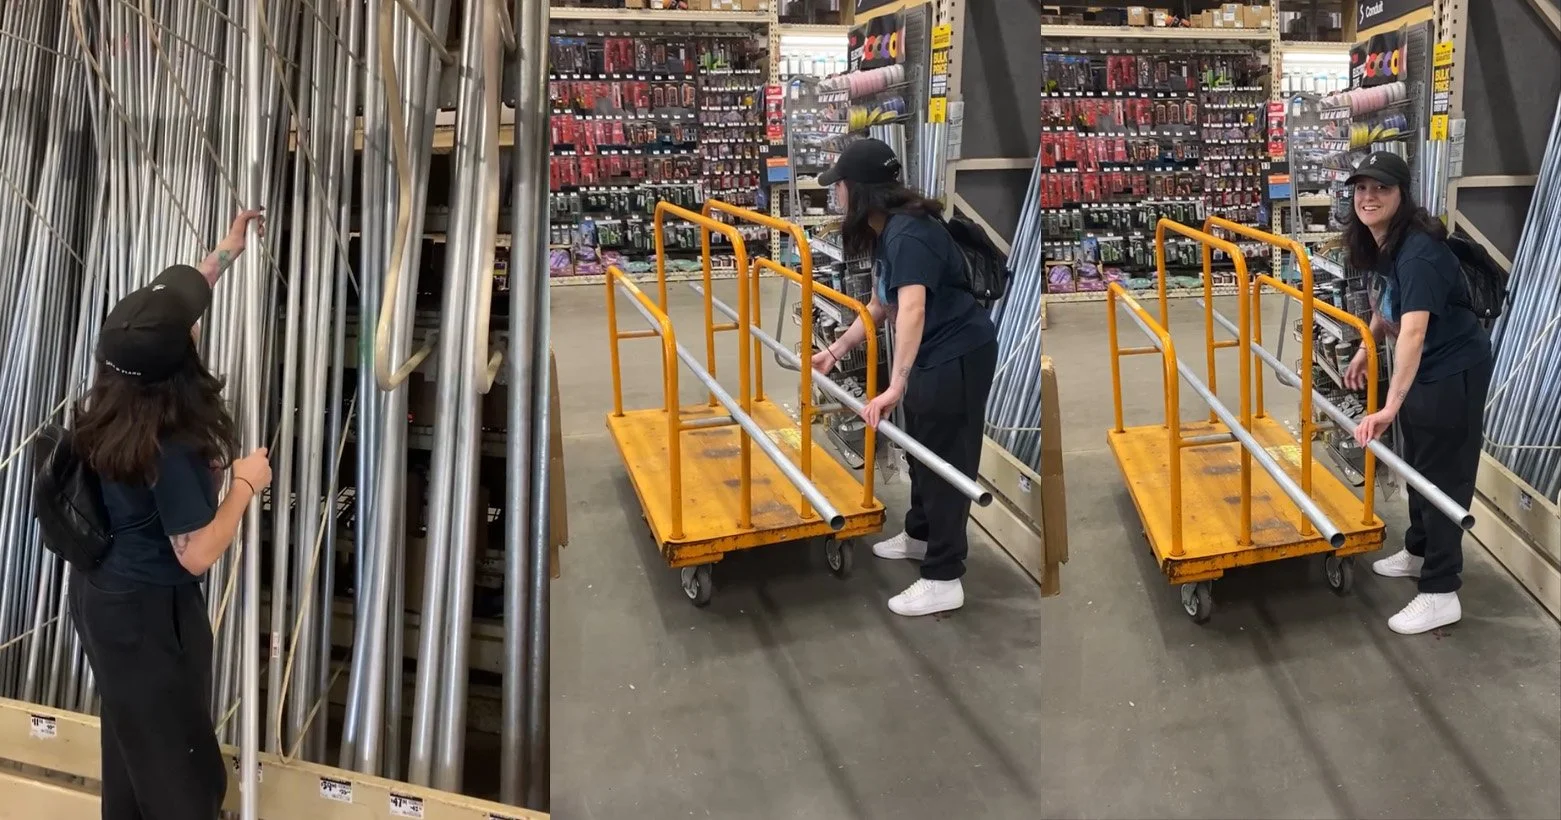
From there, I started researching lightweight but durable piping that could replace a traditional crossbar. I’ll spare you all of that and give you the answer now: EMT conduit piping. Home Depot sells them in 10 foot sections. But that still left me with a number of questions. How would I connect them to reach 18 feet? How would I cut them? What diameter did I even need? These pipes come in multiple sizes. I also still had concerns about how to make the weight evenly distributed and support this giant backdrop.
I landed on 1 1/4 inch EMT pipe and screw couplings to join the sections. I went in there just expecting an employee would be able to cut the pipe for me (that’s apparently not a thing). So with my two 10 foot pipes, a pipe cutter, and a whole lot of feminine energy I was off to do the thing. One lesson I learned from Lisa was always have backups of anything you can have a backup of, so just in case, I grabbed two extra couplings to keep in my gear case.
Short queen problems
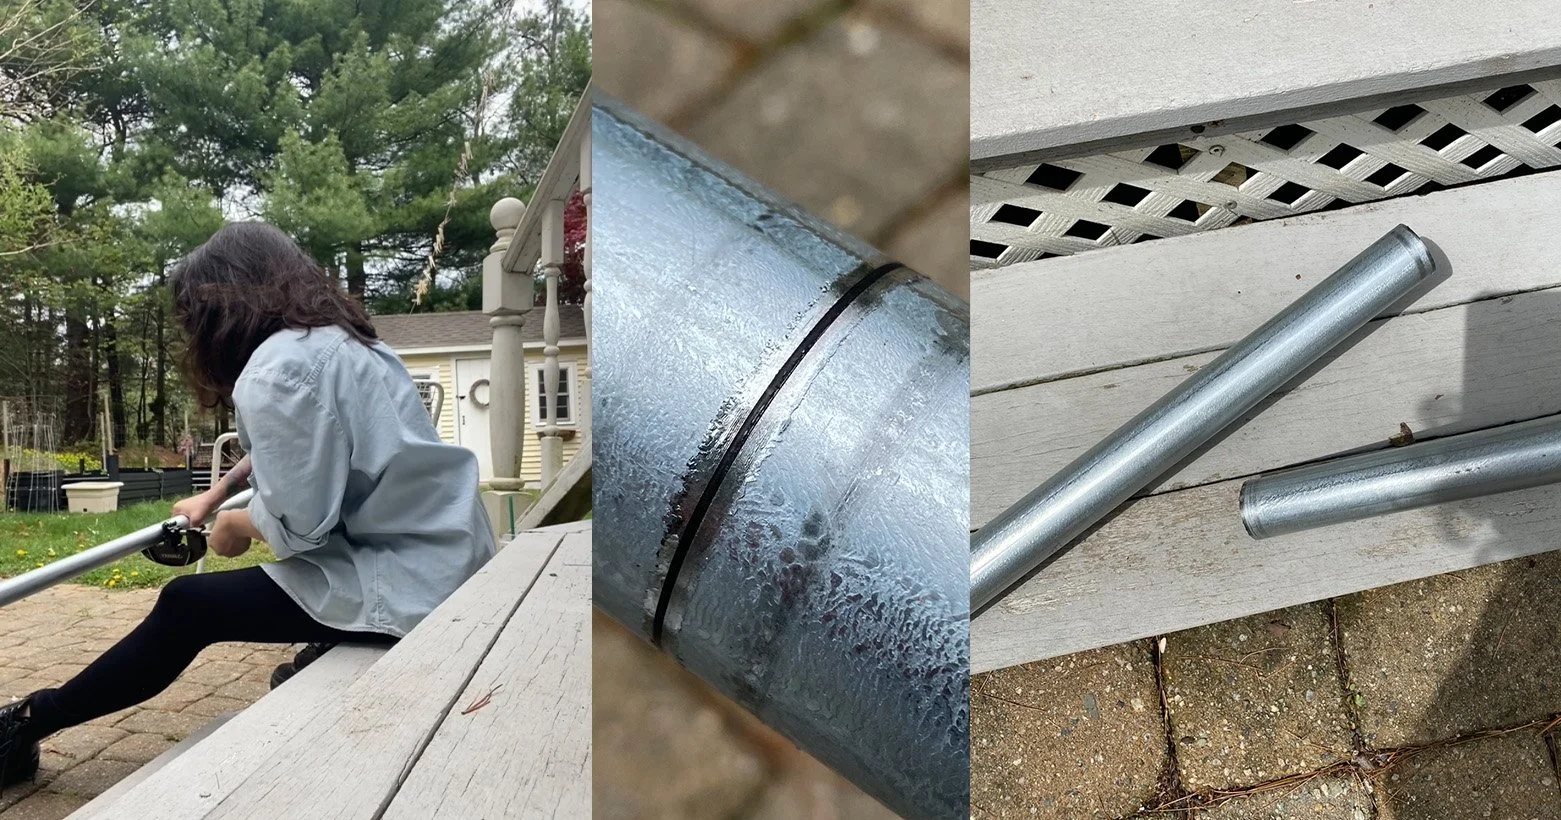
Cutting the pipe was… an experience. It was incredibly challenging for me to stay on the same cut line. But I cannot describe the feeling when I finally made that first successful cut. I had my phone set up recording, and the scream..eh maybe more of a grunt I let out after it went through is honestly hilarious. My plan was really starting to work. I cut the first 10 foot pipe in half making two 5 foot sections. The second pipe I cut at 8 feet. Giving me a 2 foot section left over. With this I was able to not only have my original 18 foot crossbar, but an 8 foot cross bar, a 10 foot cross bar, a 12 foot cross bar - and so on. I made all of those different sizes and more for myself from two pipes.
*determined*
My next step in the process was to drill holes through the ends, so that it could sit on my backdrop stand and be secured with a wing nut. Drilling a hole through the piping was actually not as hard as I thought it would be, or maybe I just didn’t have the confidence to do something like that before. Either way I was getting more excited as each piece was coming together.
Then came testing. This was the moment of truth to see if all my calculations and work paid off. Securing the couplings to the crossbar meant using a drill and slowly tightening the set screws to lock everything in place. Instead of looping the backdrop through the bar like I had in the past, I decided to clamp the fabric directly to the pipe to help distribute the weight evenly across the span. Thank you to David, my love, for that brilliant suggestion. Being that I have about a million clamps, this was a solution that didn’t have to be purchased.
Together we set up the backdrop to the 18 feet. I think I was near tears in that moment to see that it worked. Not a single bit of sag. It really streamlined my set up process and I truly want to bottle up that accomplished feeling. My new system performed beautifully during the two long shoot days I use it for, and I pulled off something I never thought I’d be capable of pulling off. I truly felt like Lisa and my dad were watching with knowing smiles.
If you are a photographer that has to travel and set up large scale backdrops like this (usually under a time constraint) I really recommend coming up with a creative solution for yourself like this. This is where the real growth happens in our careers. My hope is someone out there can use this information to improve their own process.
I’ll be writing more posts just like this to share my growth as a photographer and to inspire other photographers. I plan to write more about my process during my shoots, my editing process, my design process and more.
Here’s a link list of everything I bought/used to make my custom backdrop system happen:
Savage 12x12’ Background Stand (I still use the crossbar it came with for smaller scale shoots)
EMT Conduit Piping (I normally prefer Lowe’s who I believe also carries all of these materials)
Couplings for joining your cuts together
Quick Release Tubing Cutter
High Speed Steel Brad-Point Drill Bit Set
Special thanks to my awesome boyfriend David for always cheering me on ❤️